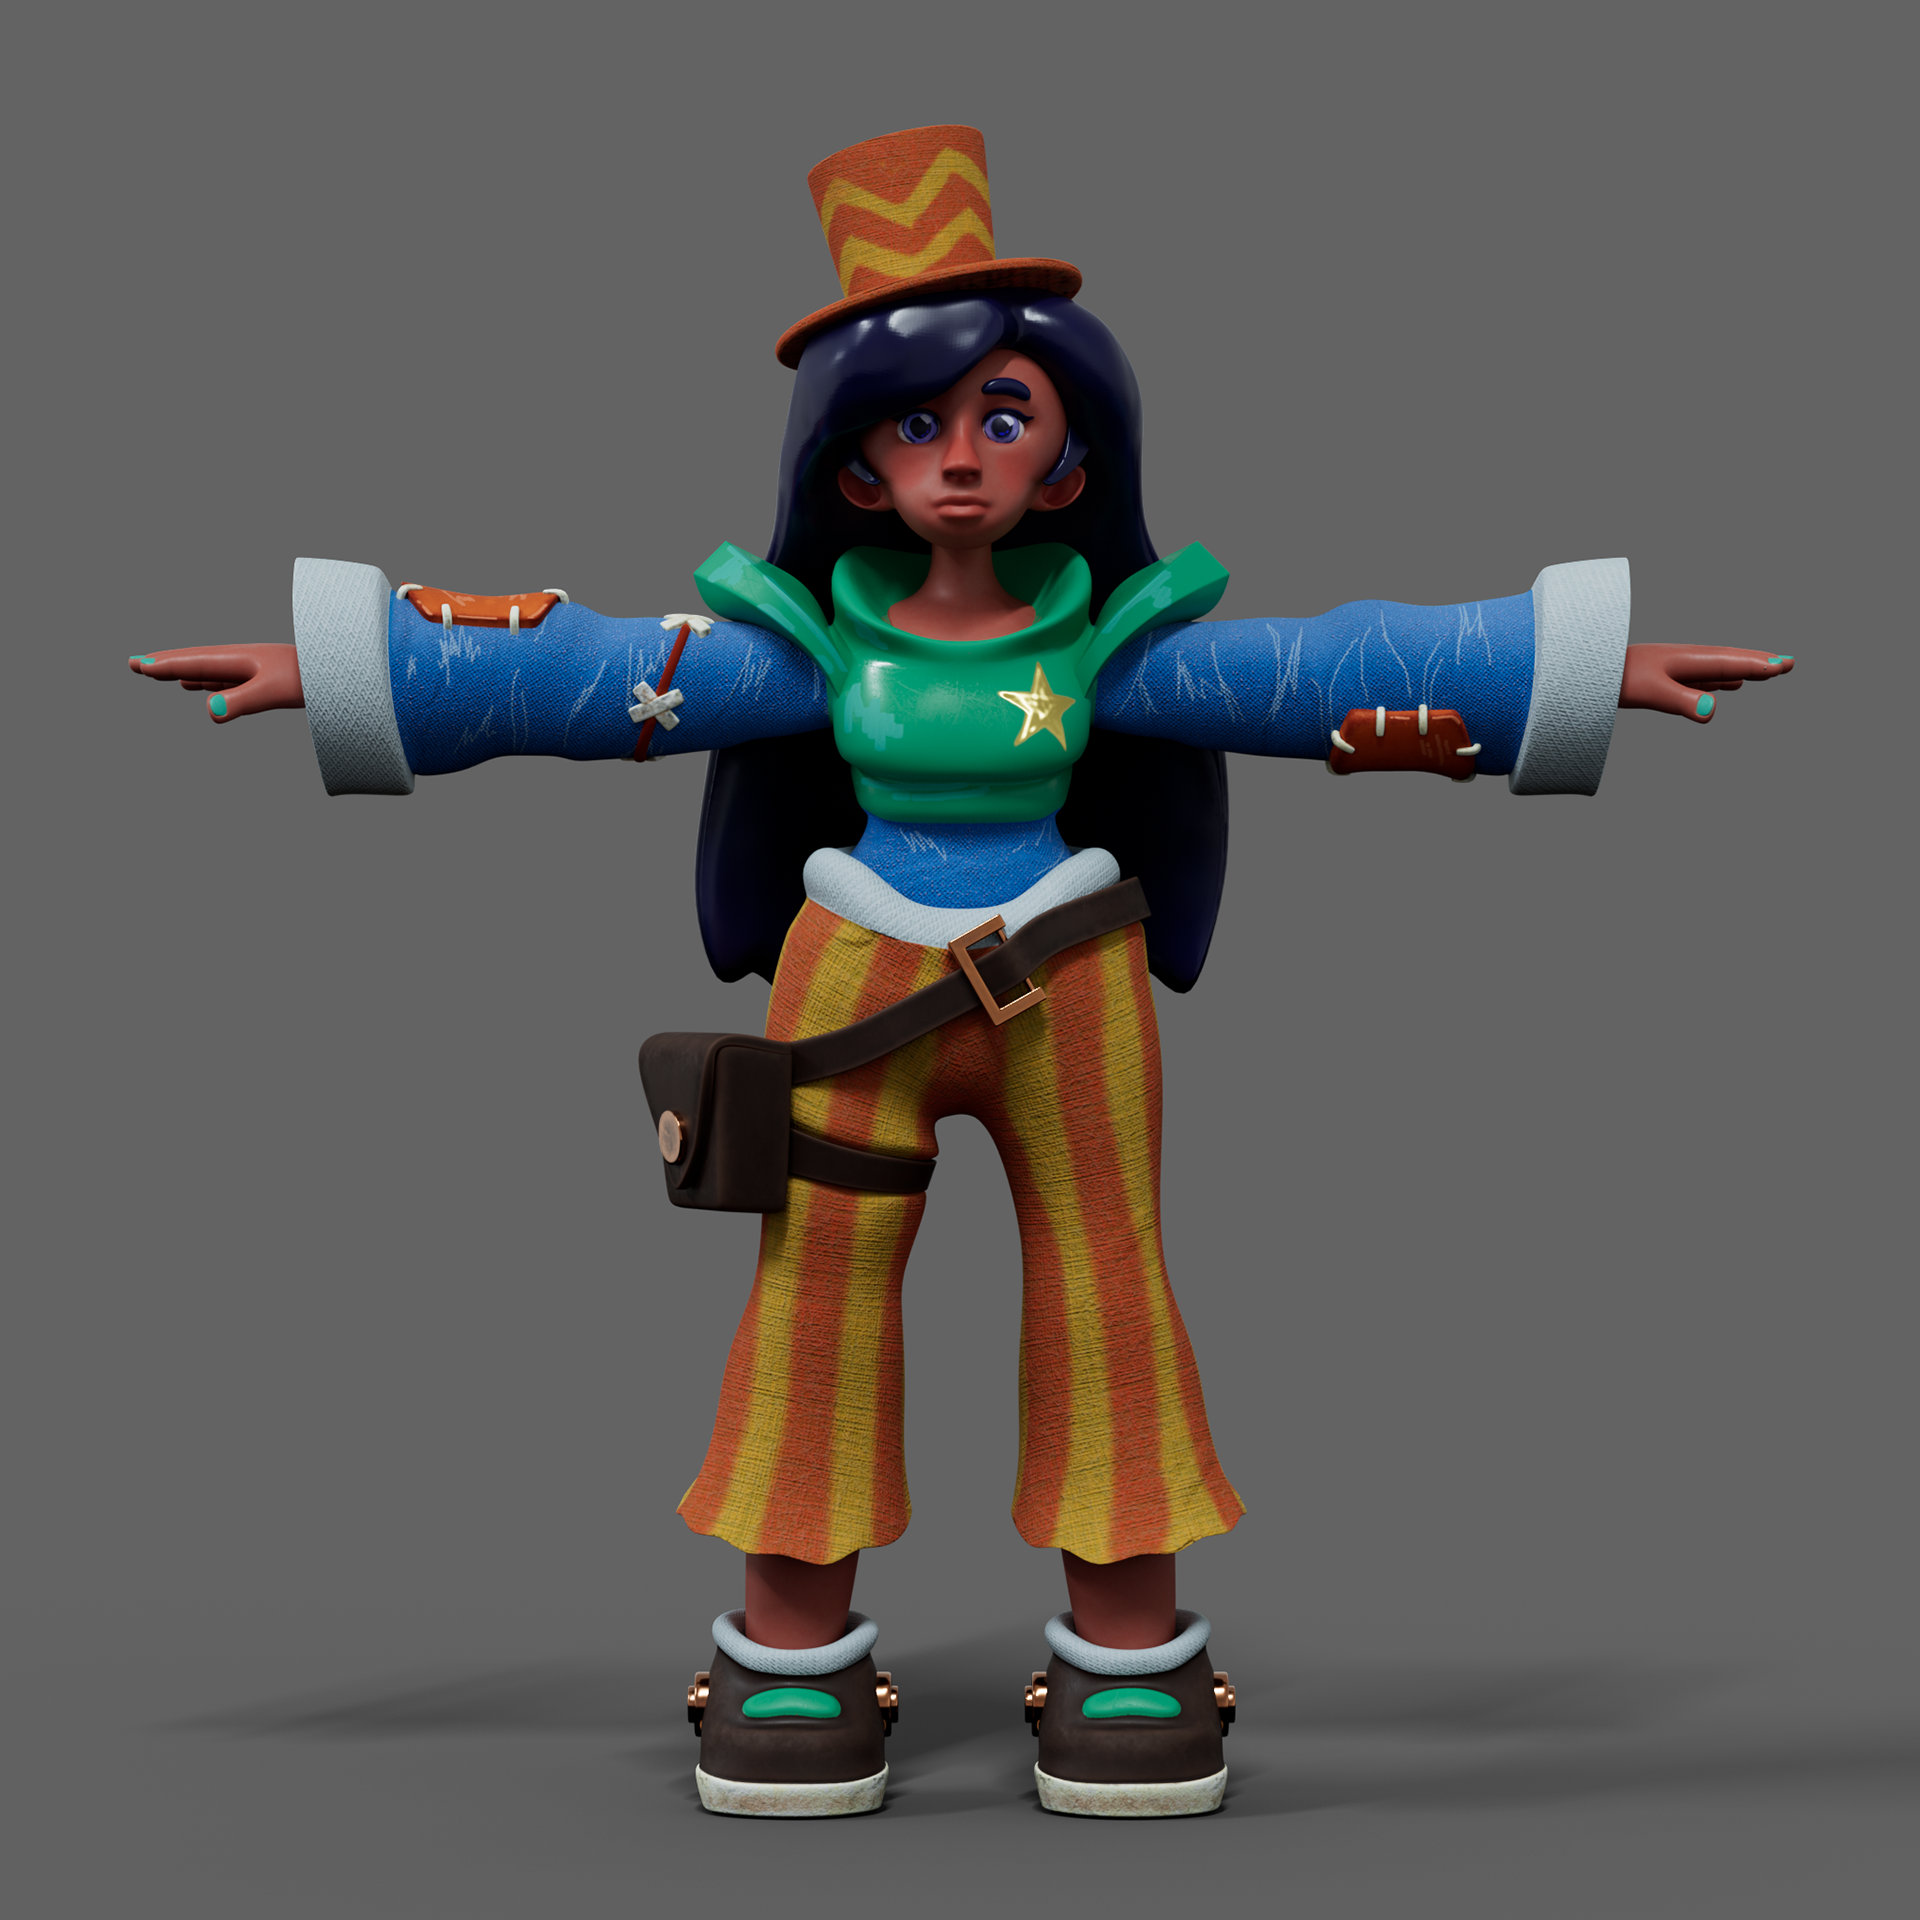
Final render
I sculpted the natural forms in Blender based on the 2D concept art, this was my first time using Blender so it was quite the learning curve. However, I found that I quickly adapted and was able to sculpt concept-accurate meshes. Once done, I began to re-topologize the mesh in maya, as well as box model some of the simpler shapes such as the legs, arms and top hat. I found that this best utilized both of the software's strengths.
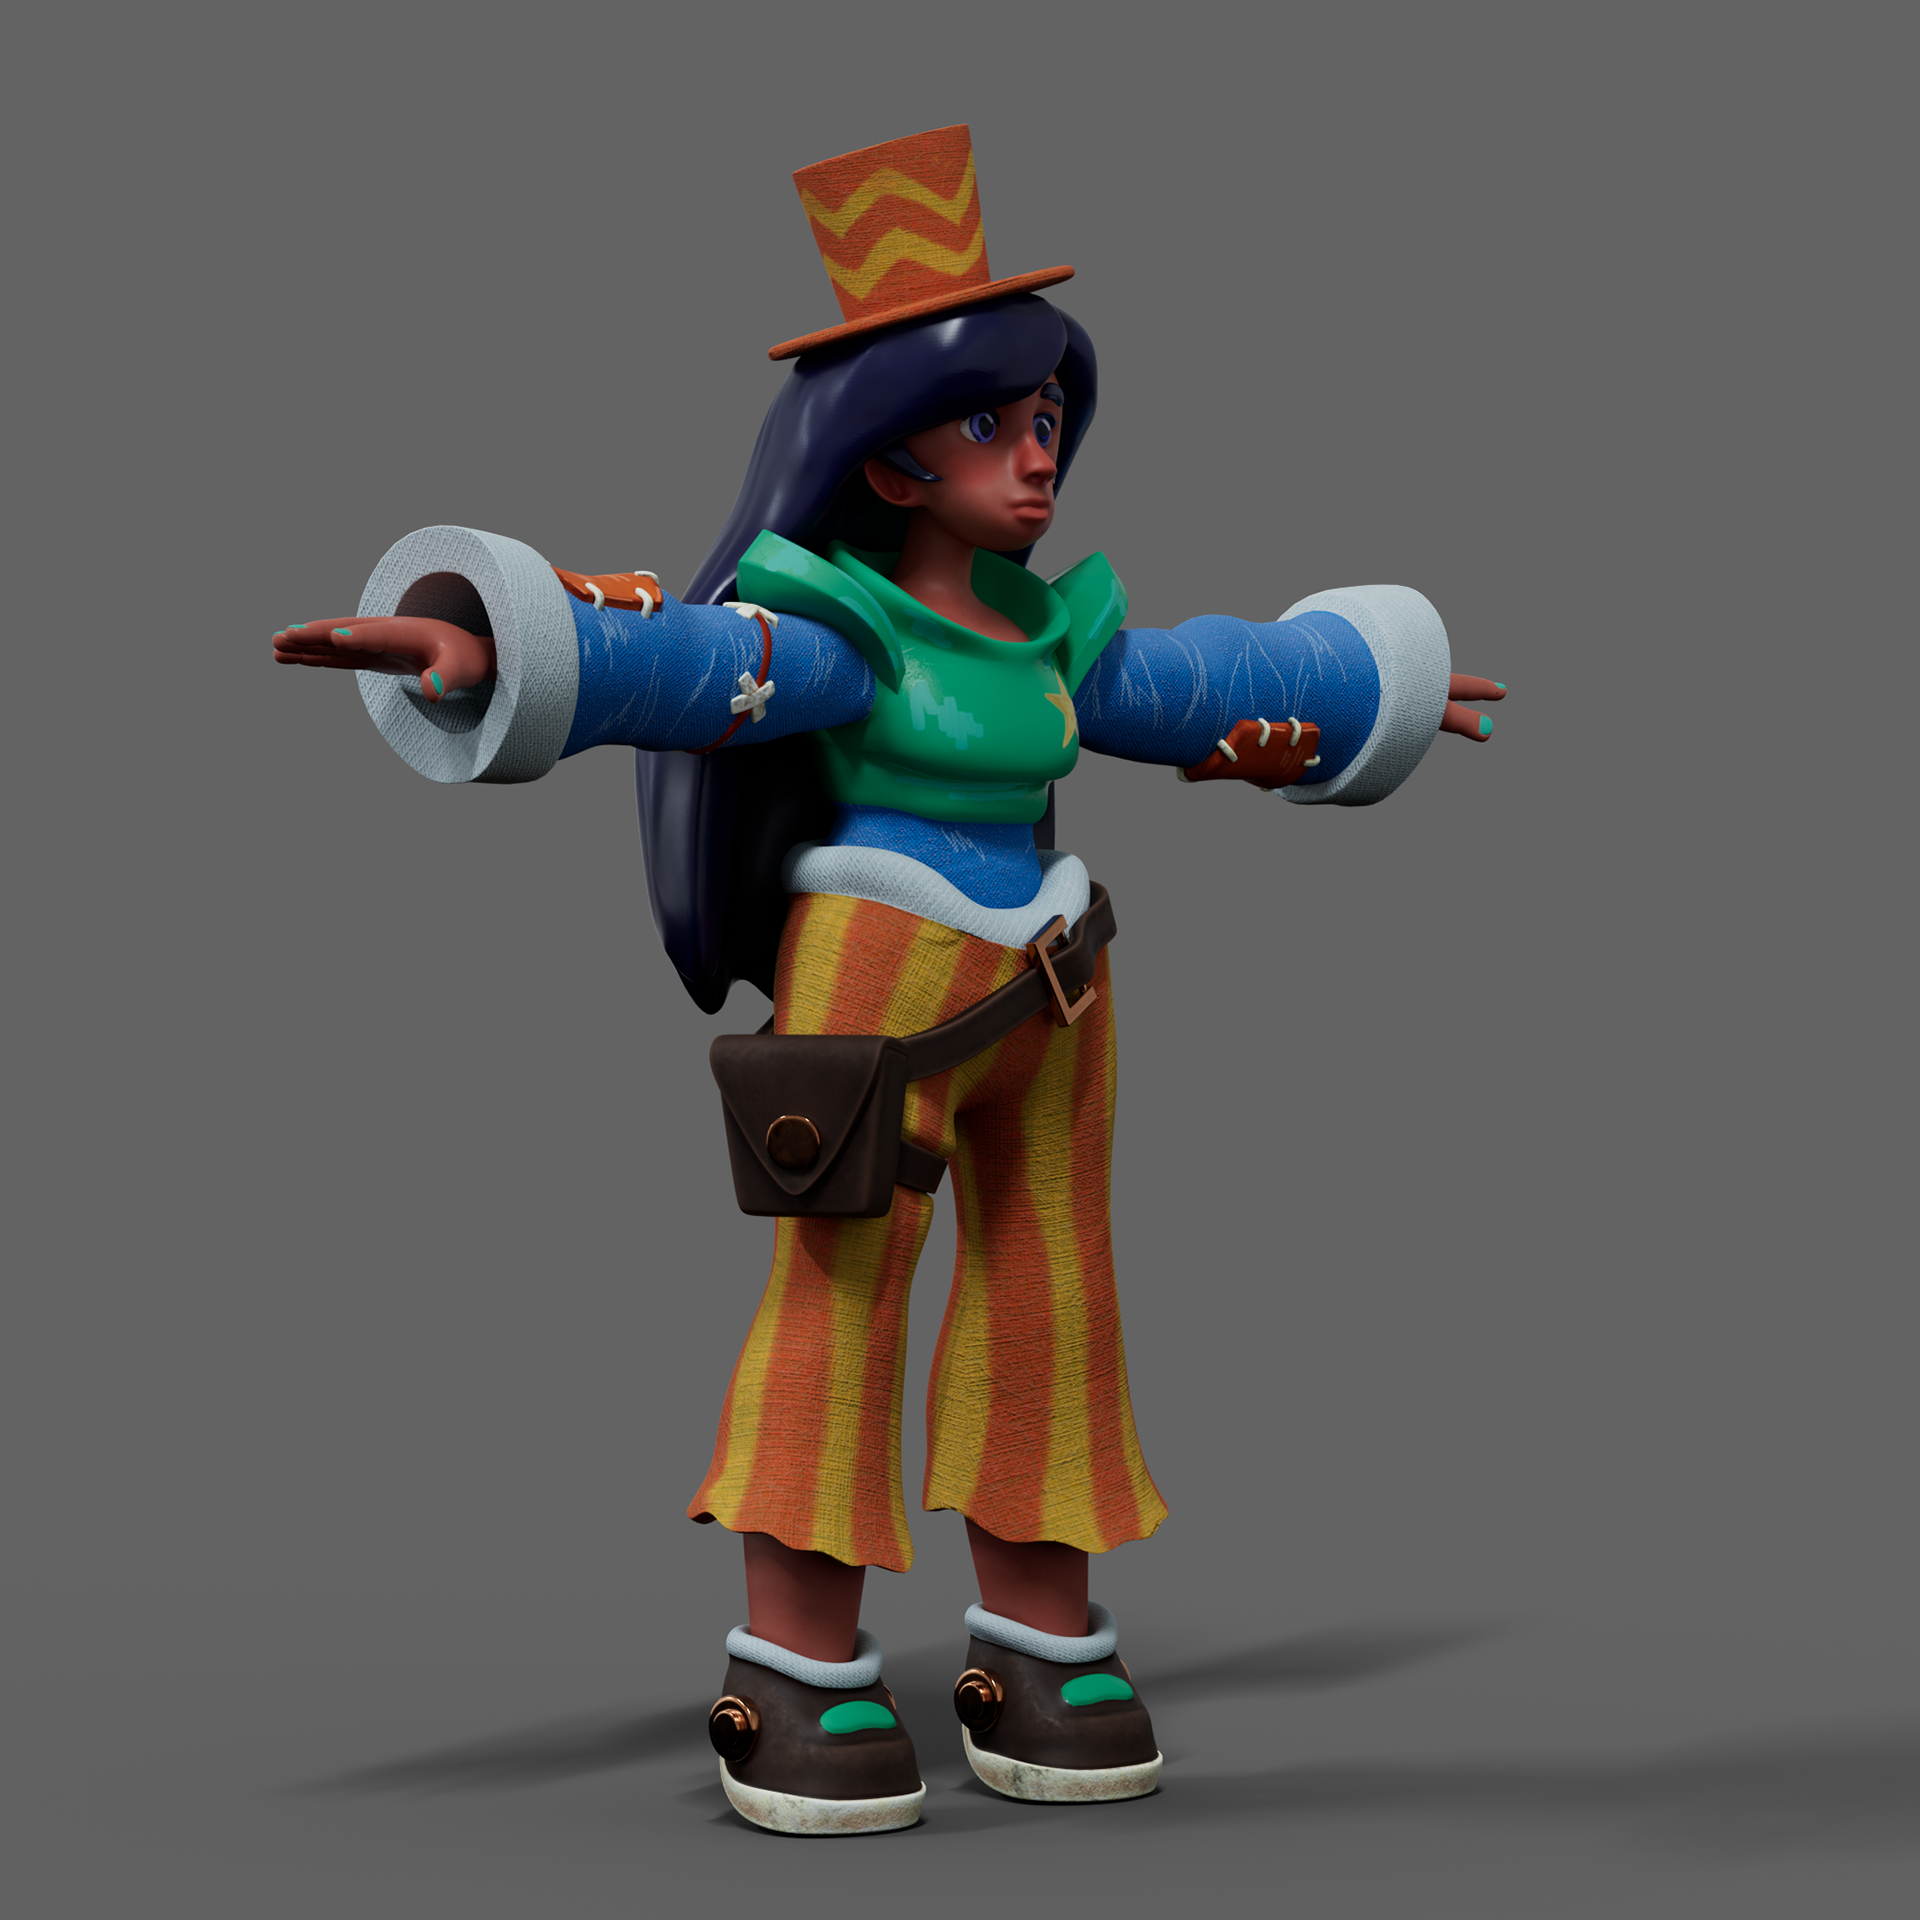
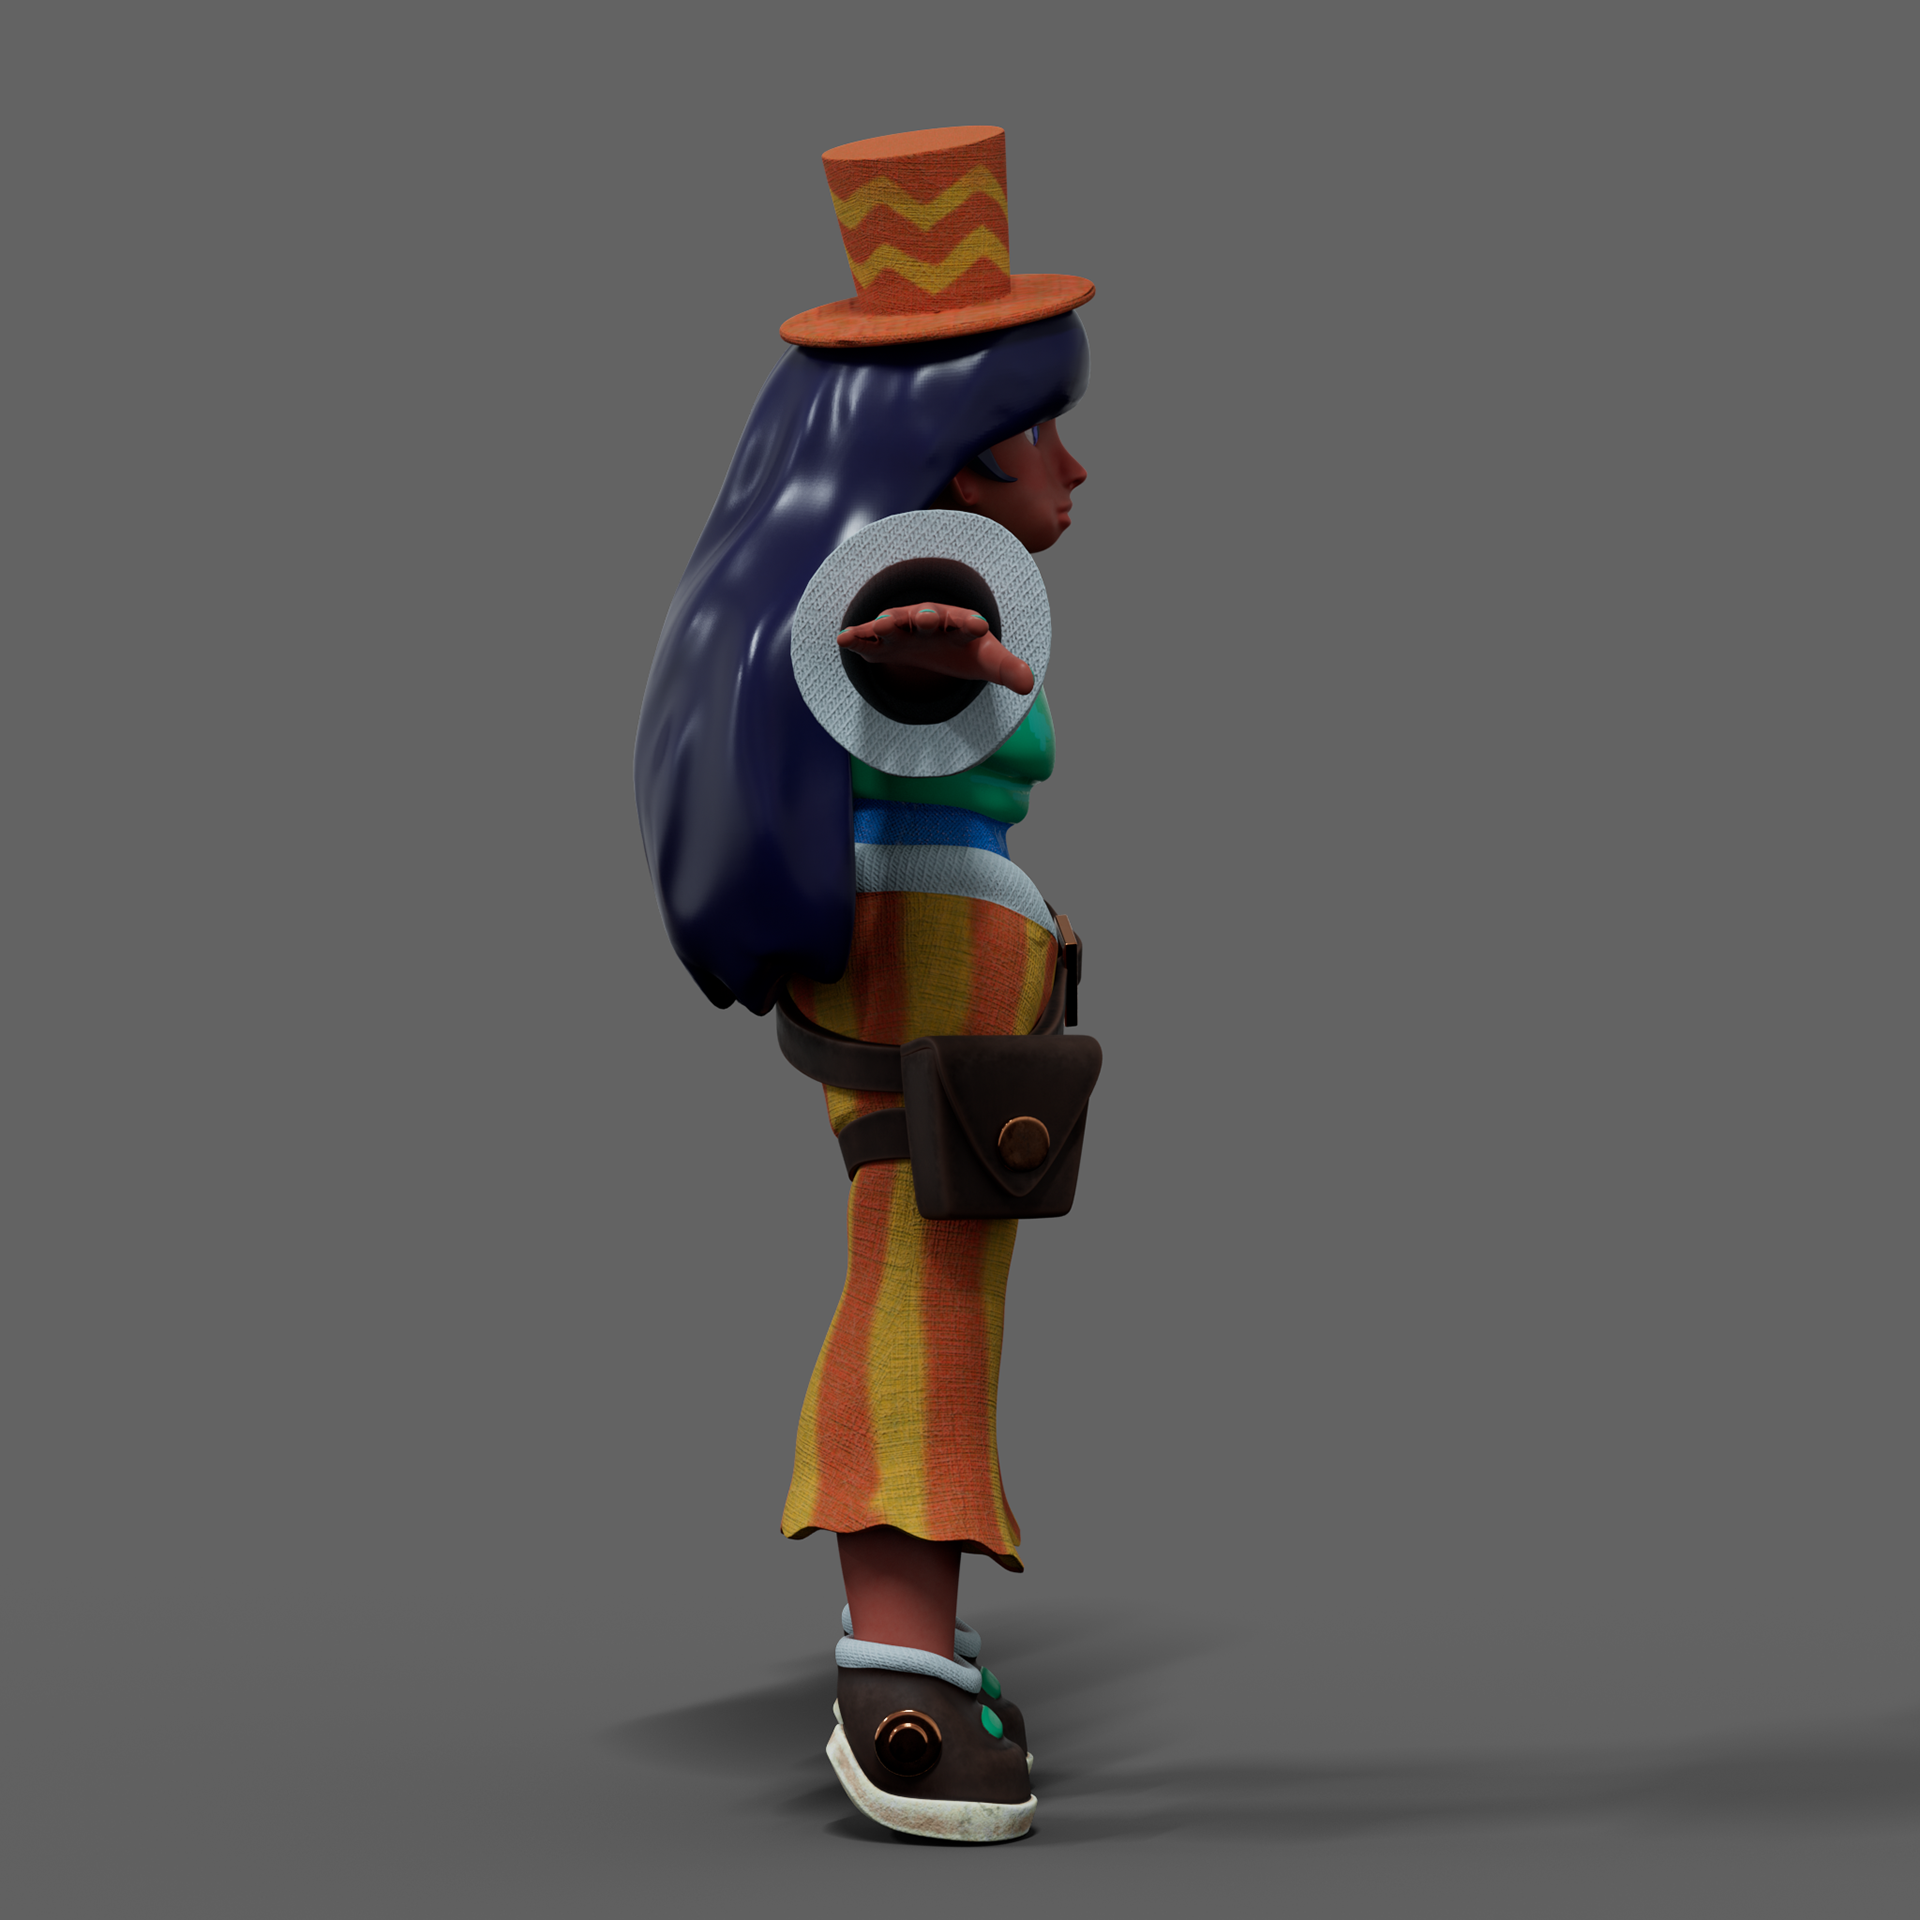
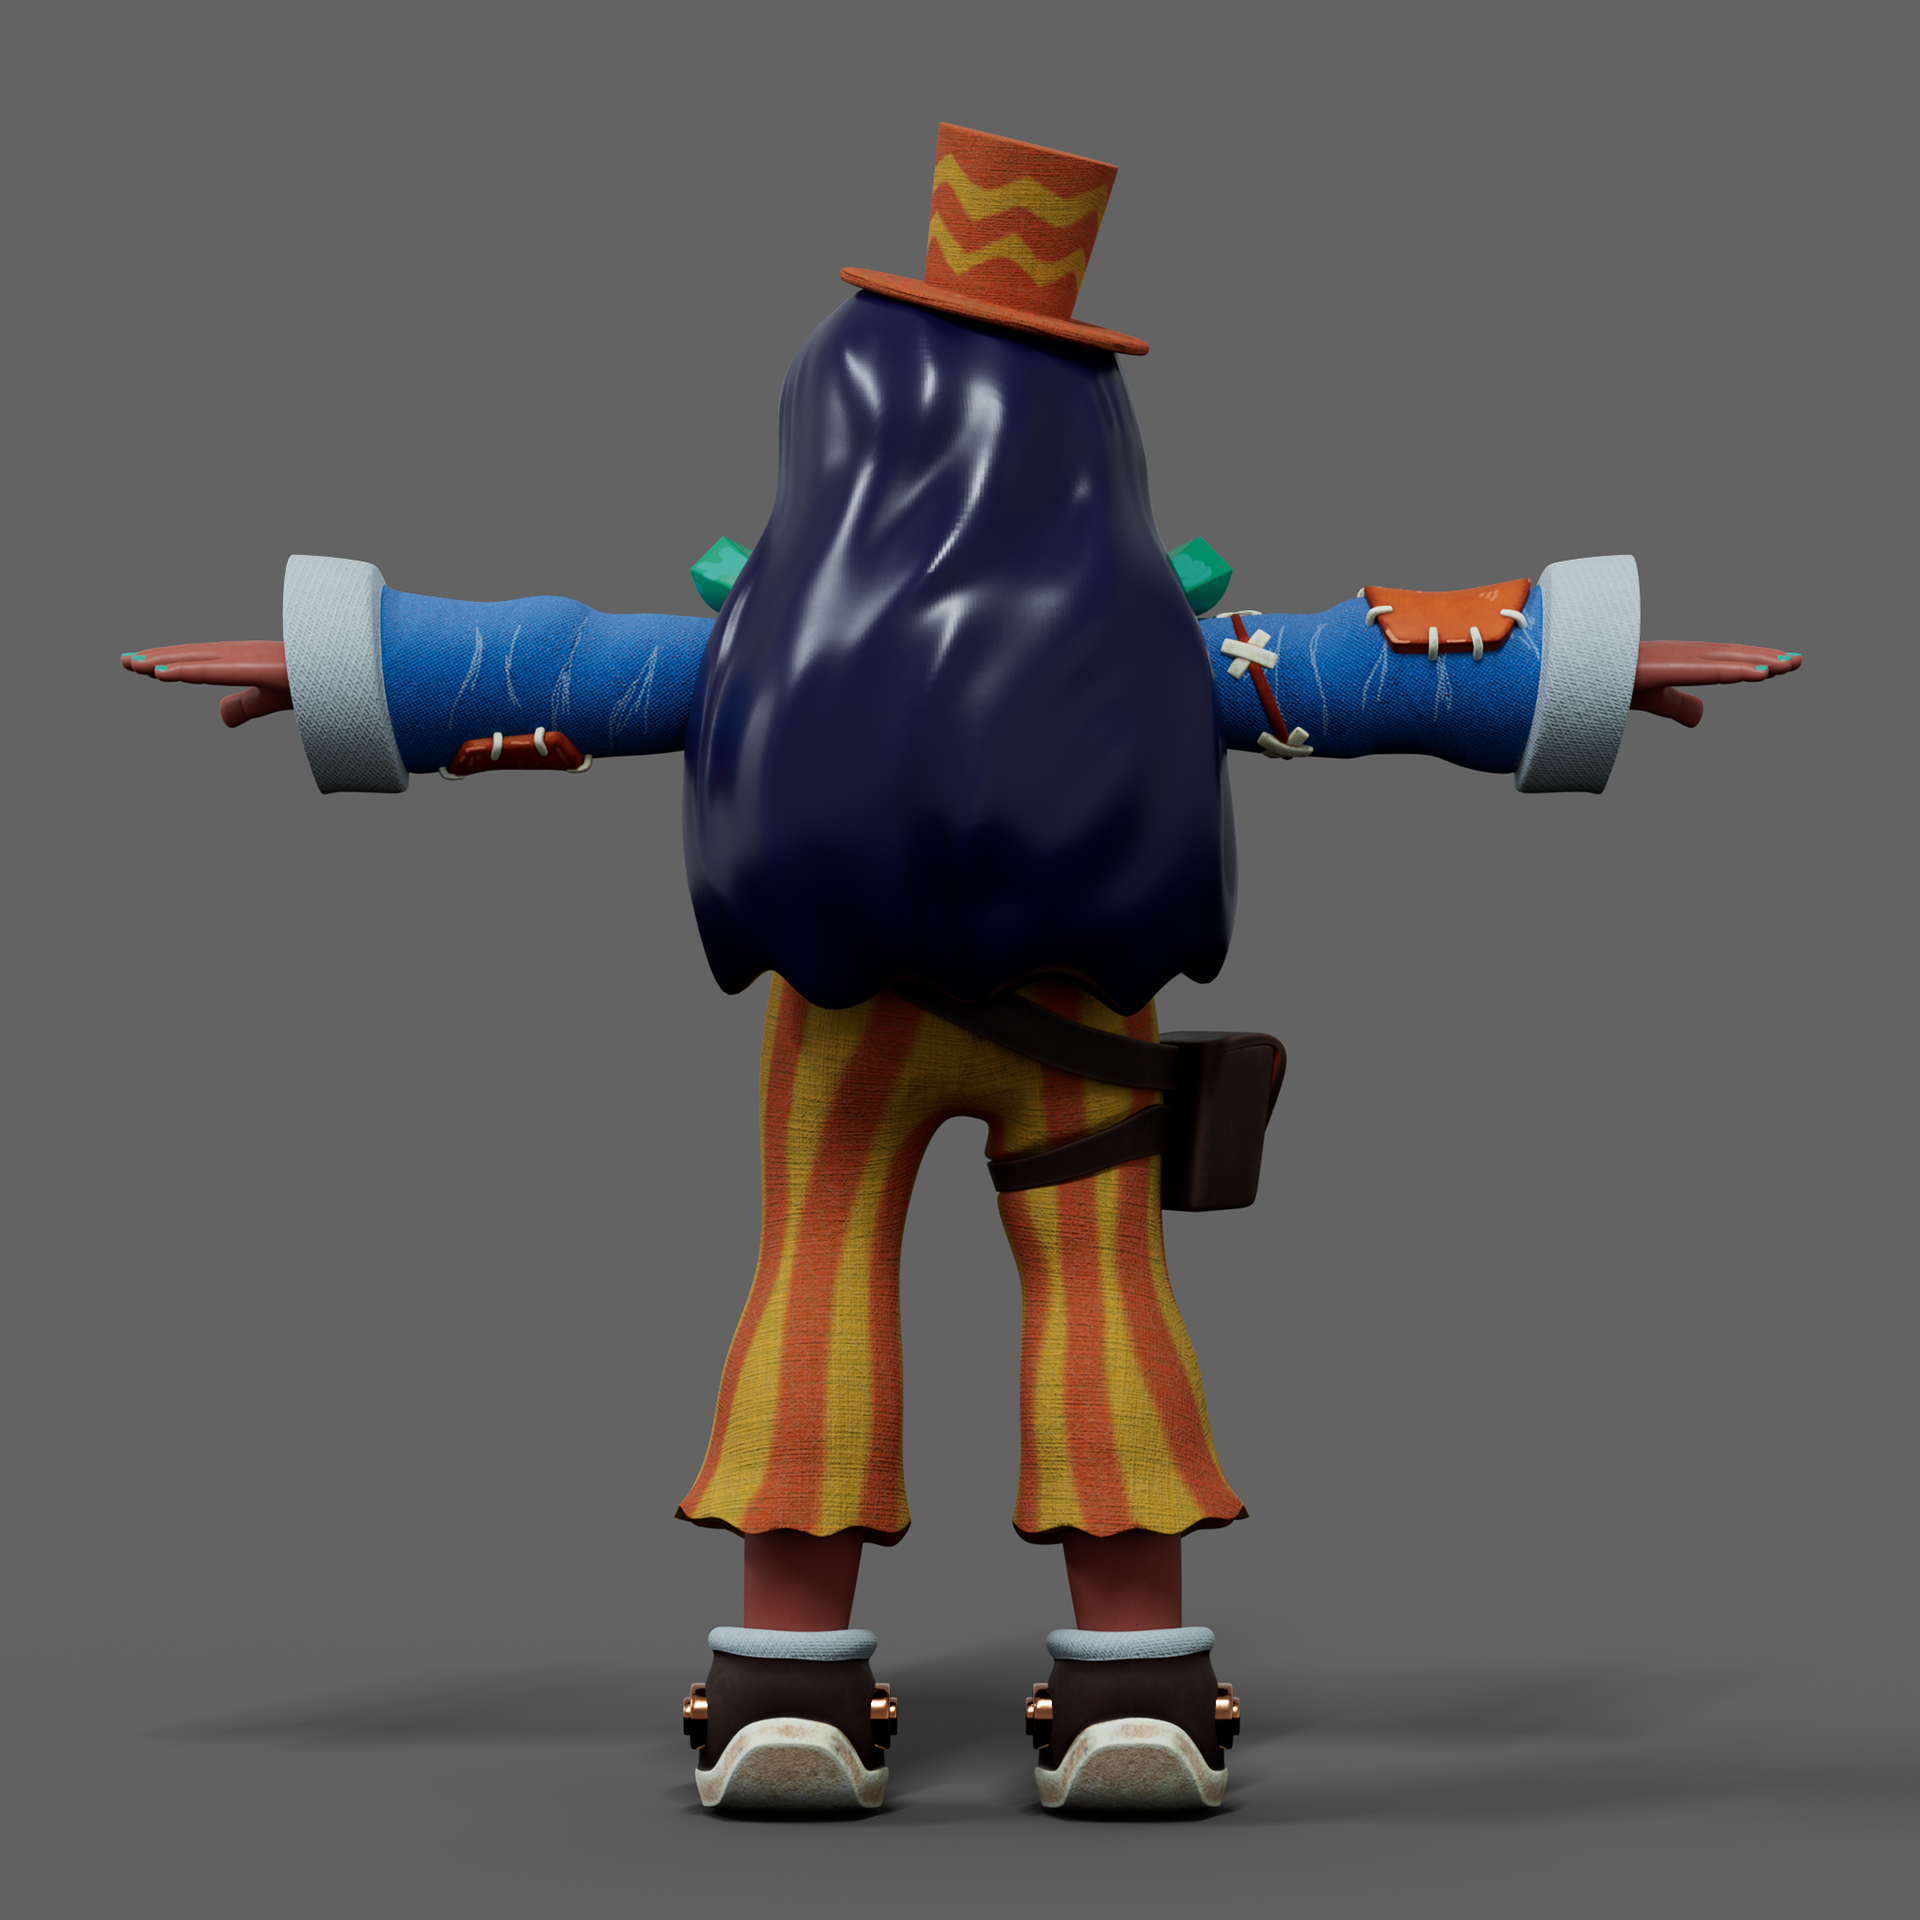
Other angles

After finishing the model, I UV Mapped the character using UDIMs and grouped the UV’s by planned material. This made it easier to texture the model once I began adding materials in Adobe® Substance Painter.
Next, I exported a high-resolution model and baked the mesh. I began texturing by first layering basic materials and defining roughness or metallic values.
To give my model design a homemade feel, I incorporated playdough-like hair and plastic armour. Then I added imperfections by drawing on paint strokes and pencil lines. This really enhanced the playfulness and whimsical nature of the overall design.
To give my model design a homemade feel, I incorporated playdough-like hair and plastic armour. Then I added imperfections by drawing on paint strokes and pencil lines. This really enhanced the playfulness and whimsical nature of the overall design.
Topology
The image below demonstrates the mesh topology of the character. I re-topologized the character with quads only.

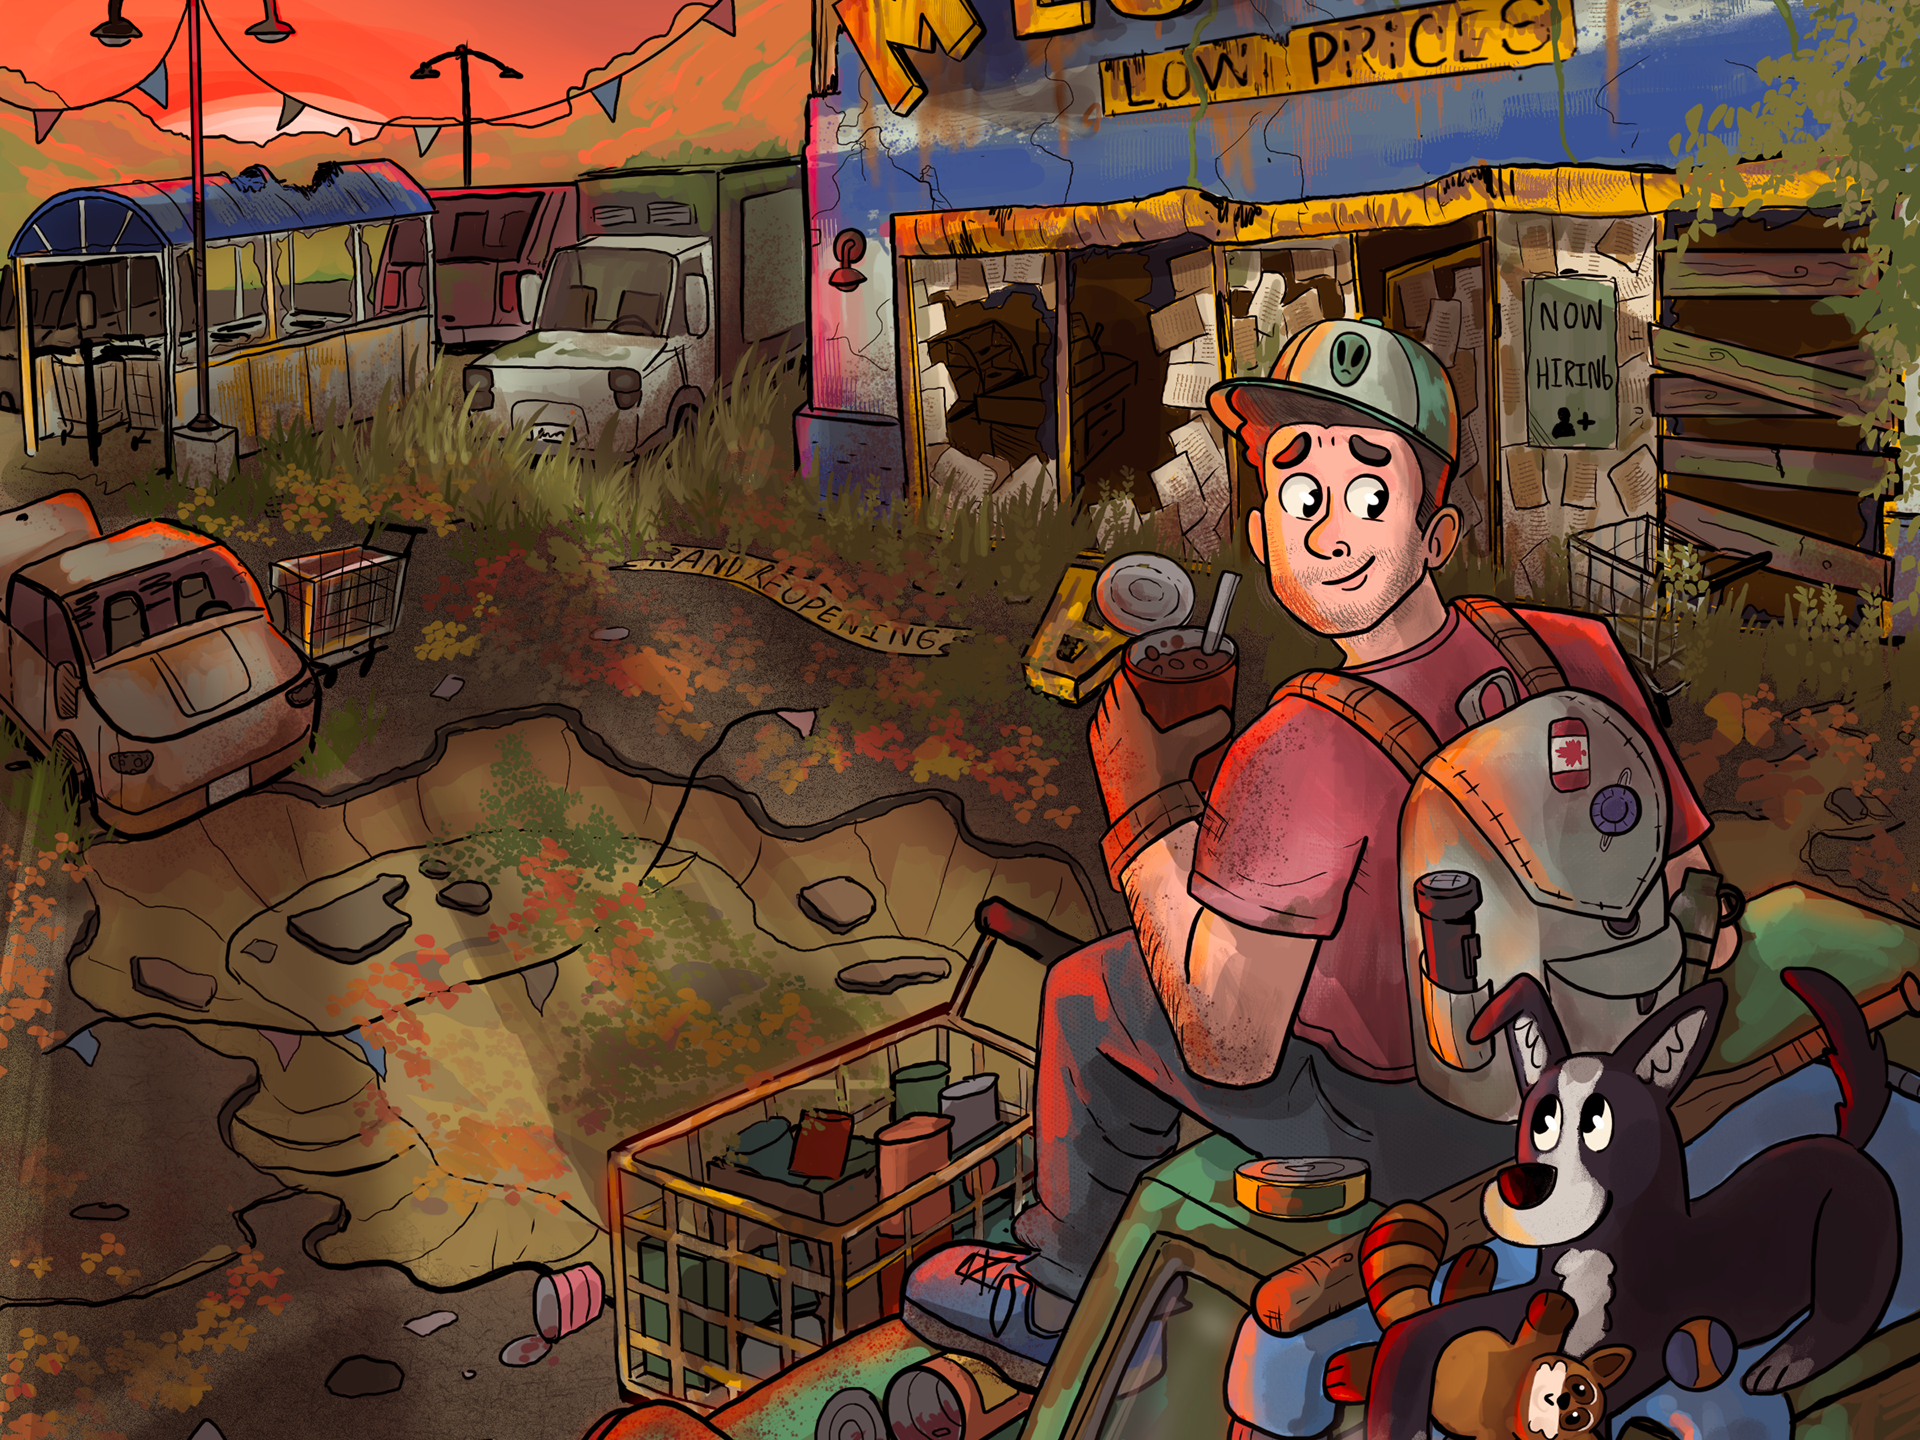
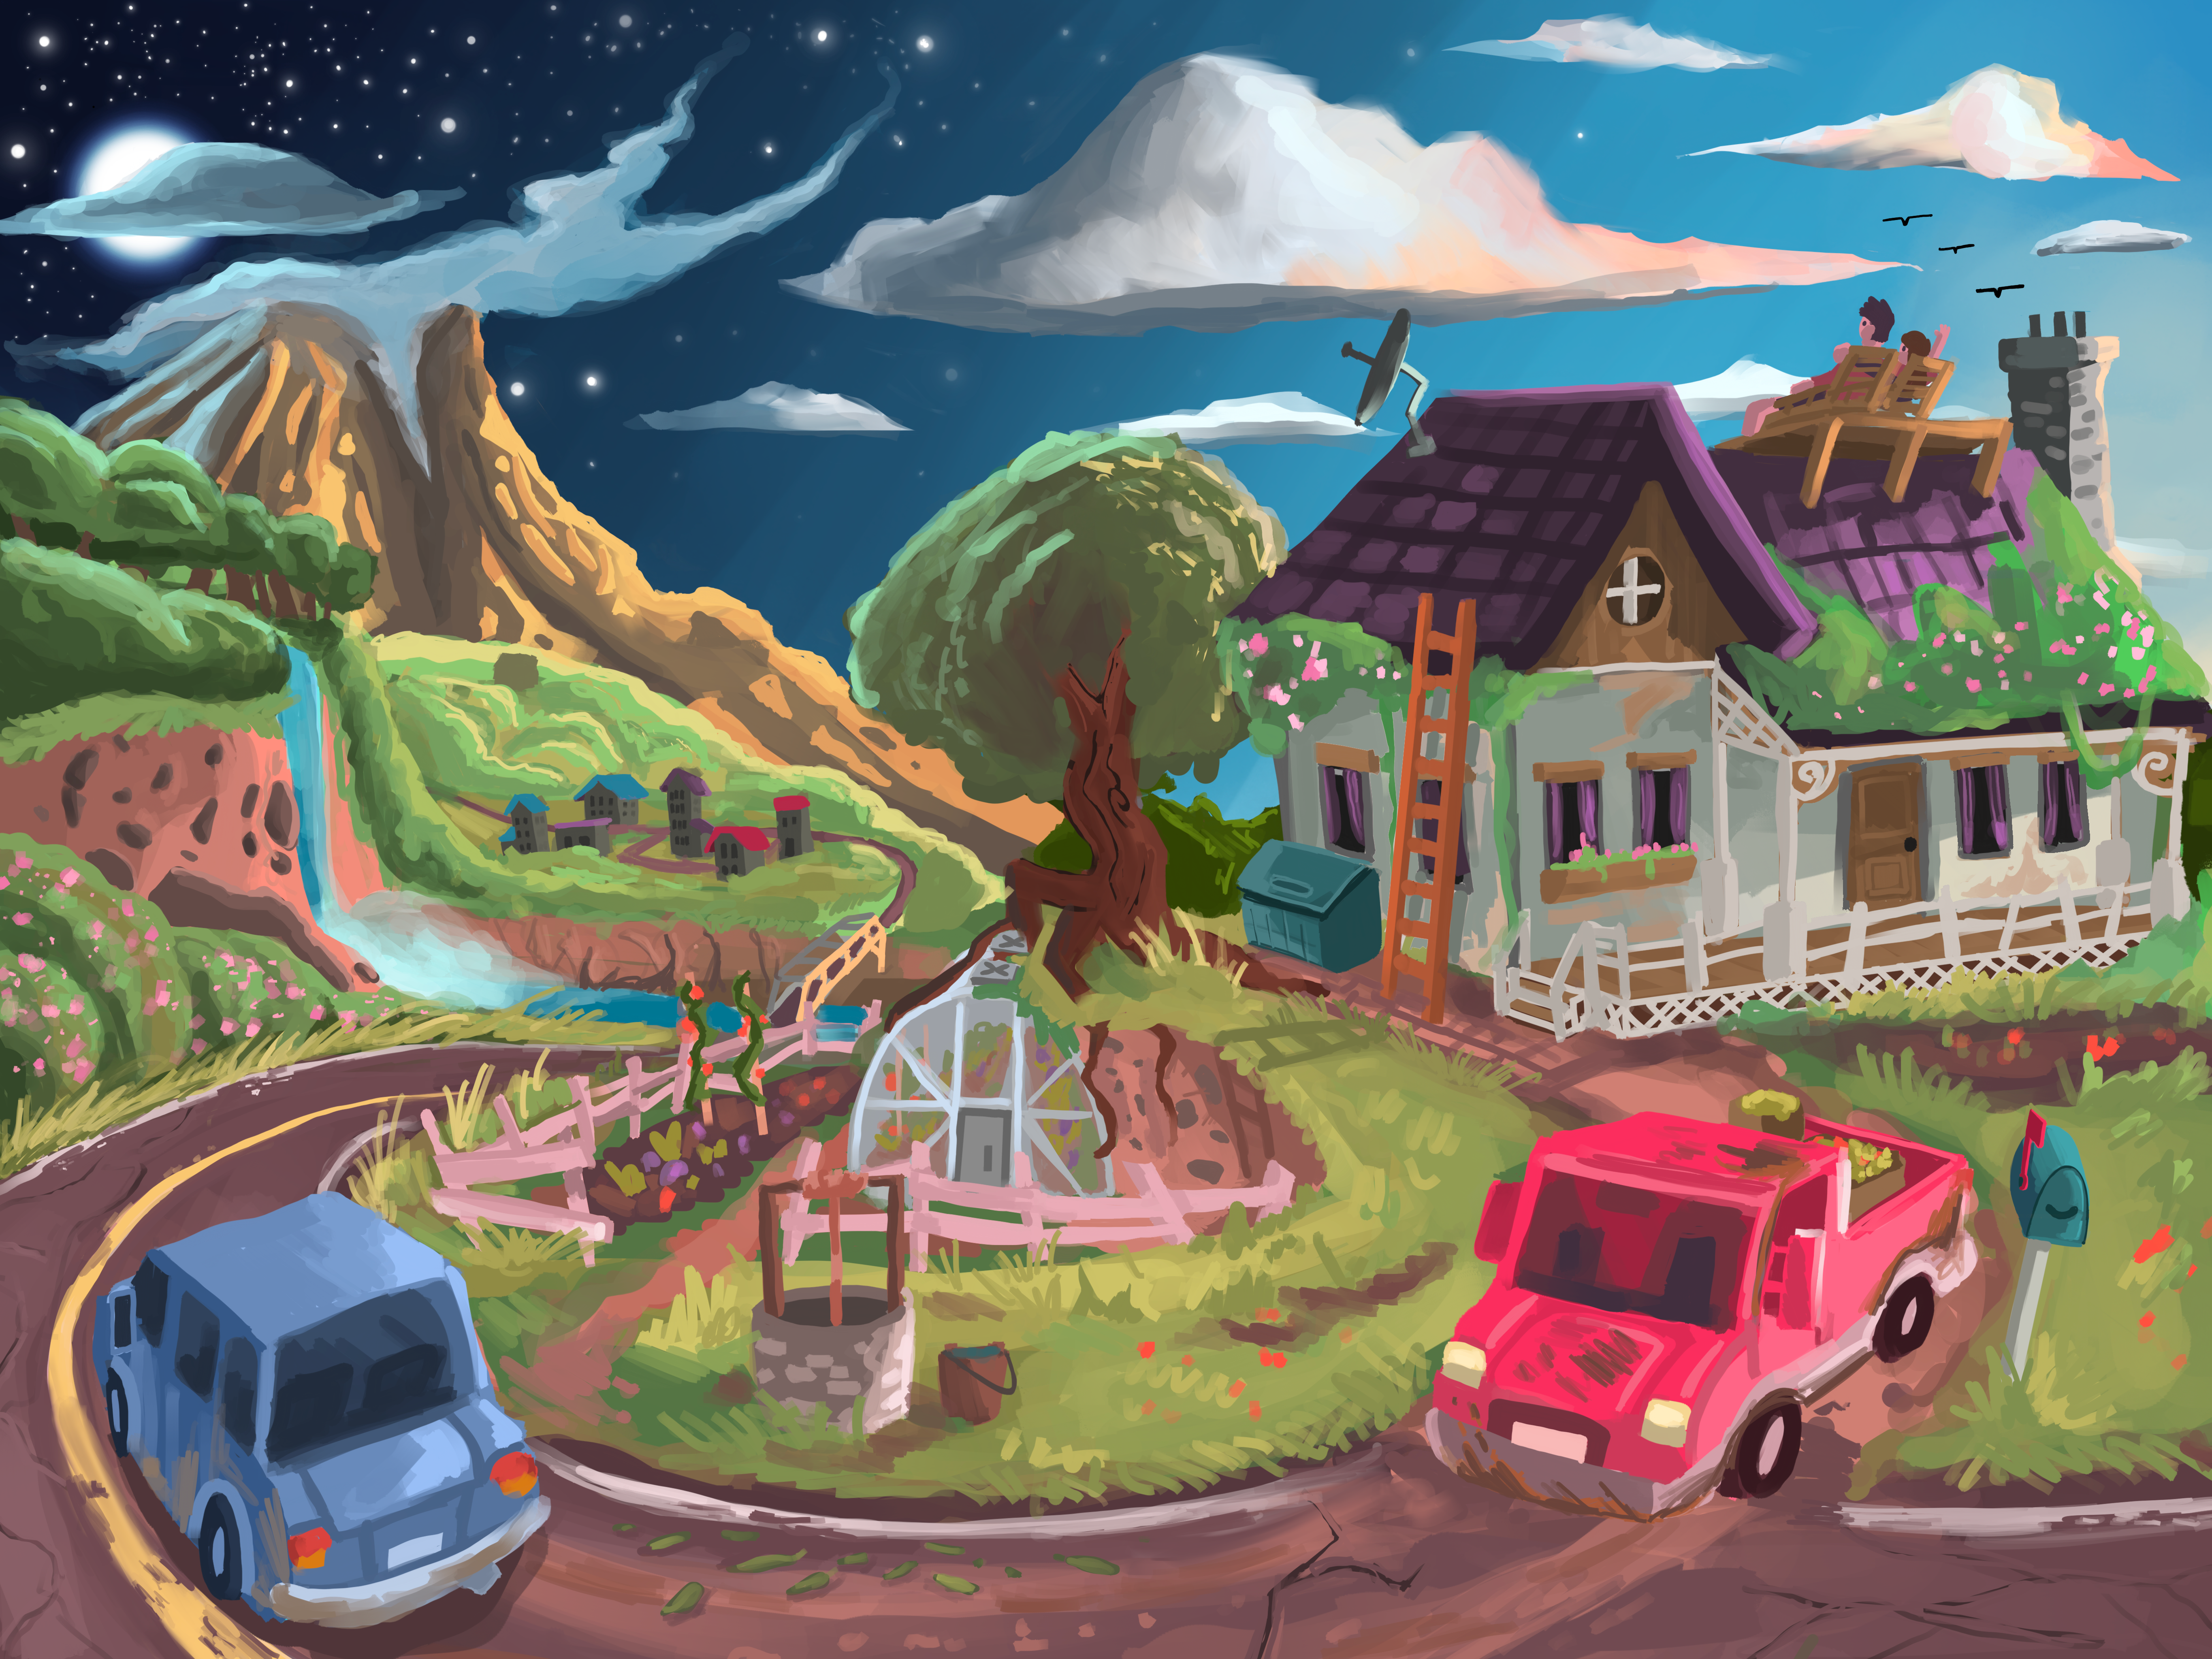
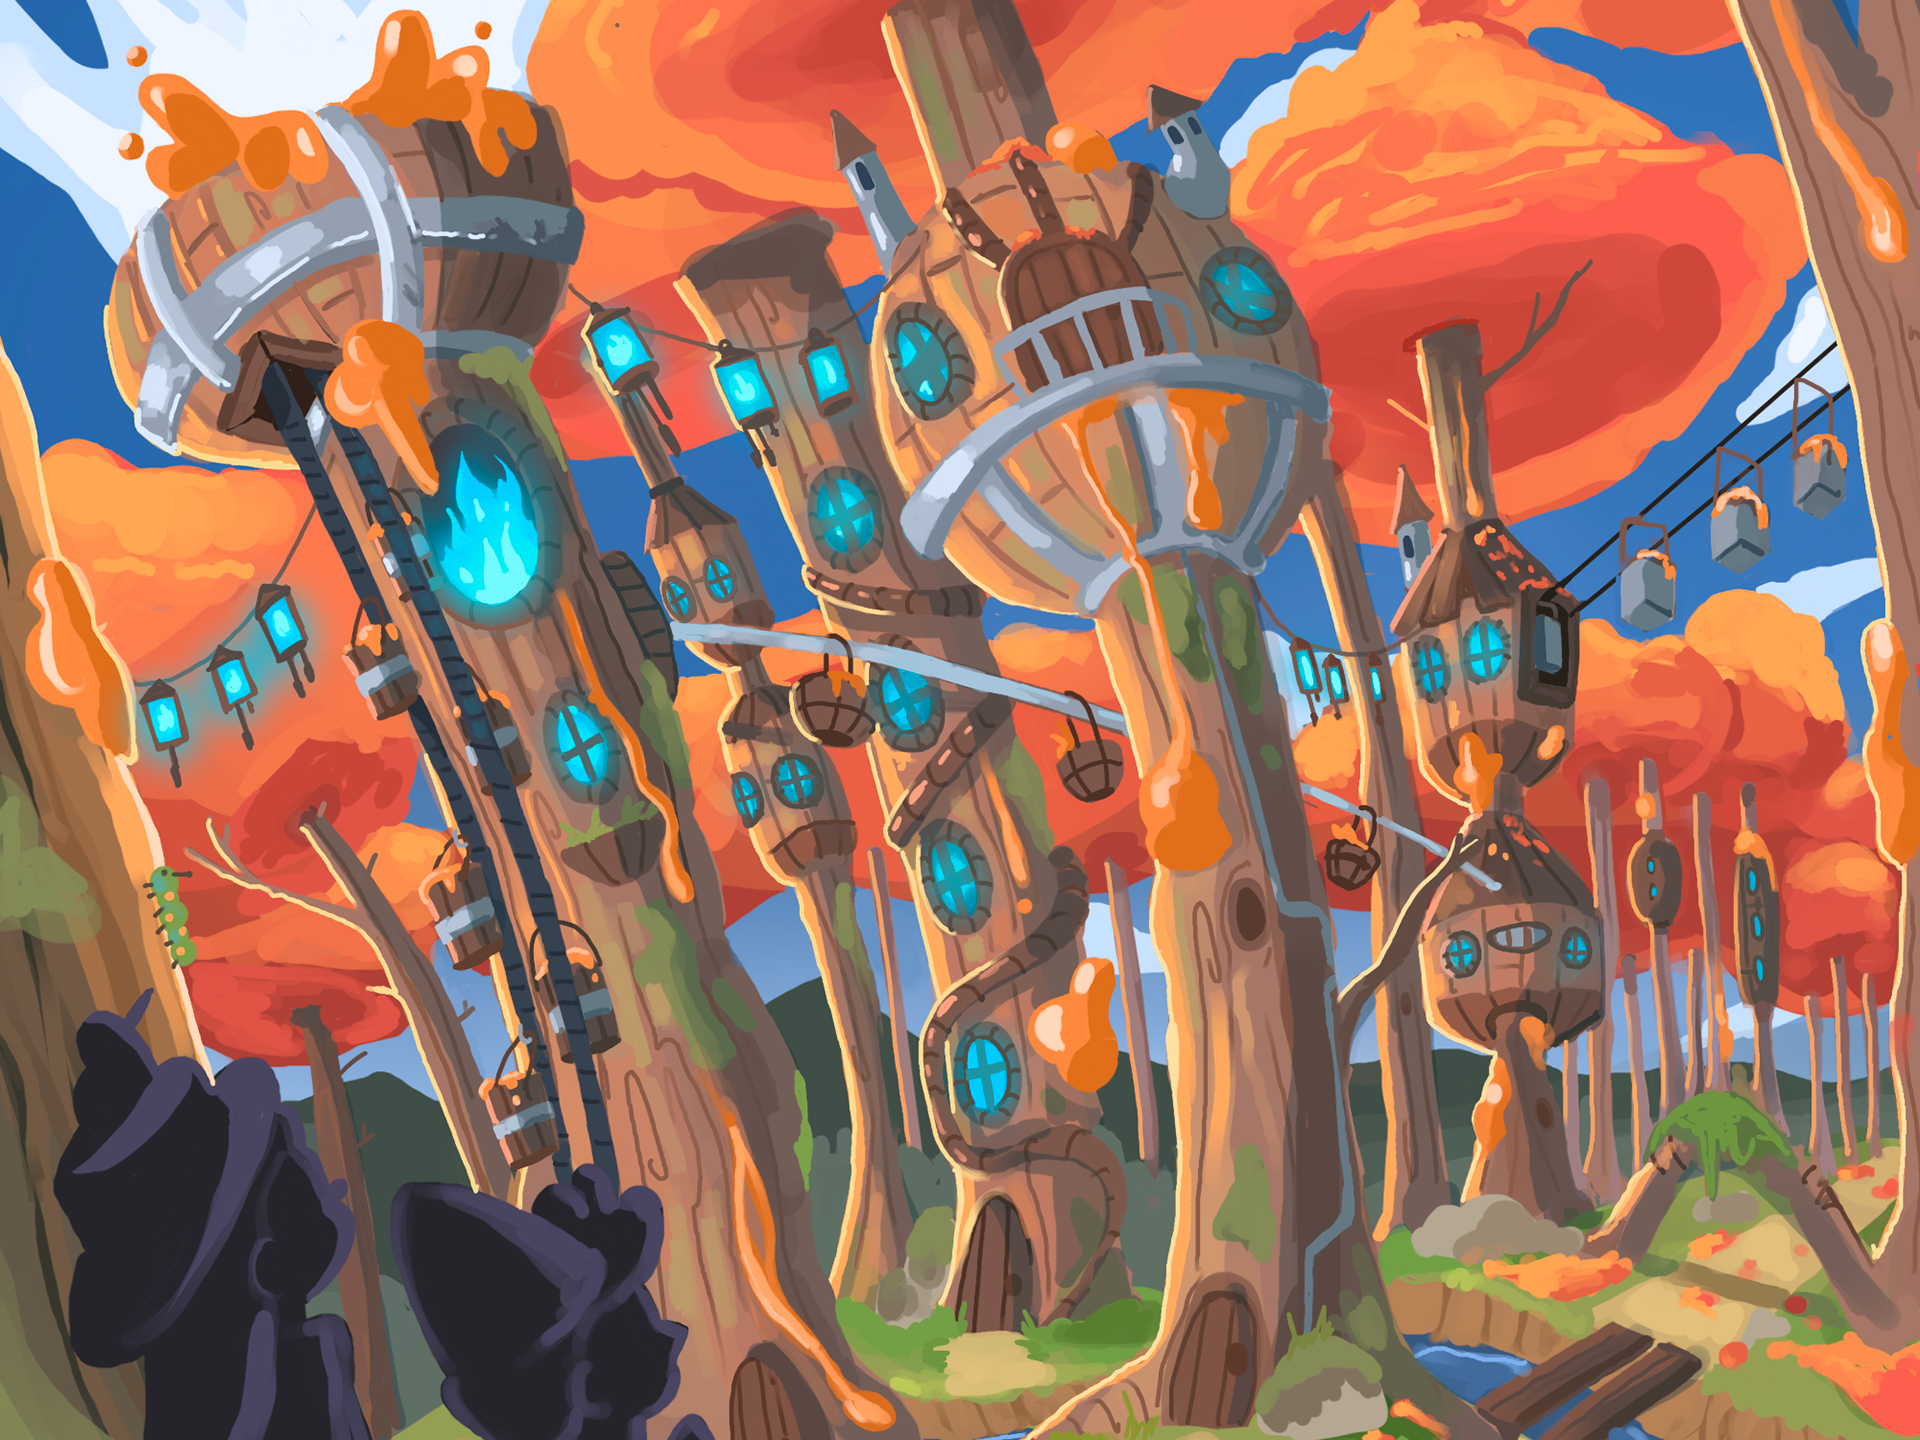
2D Concept Art
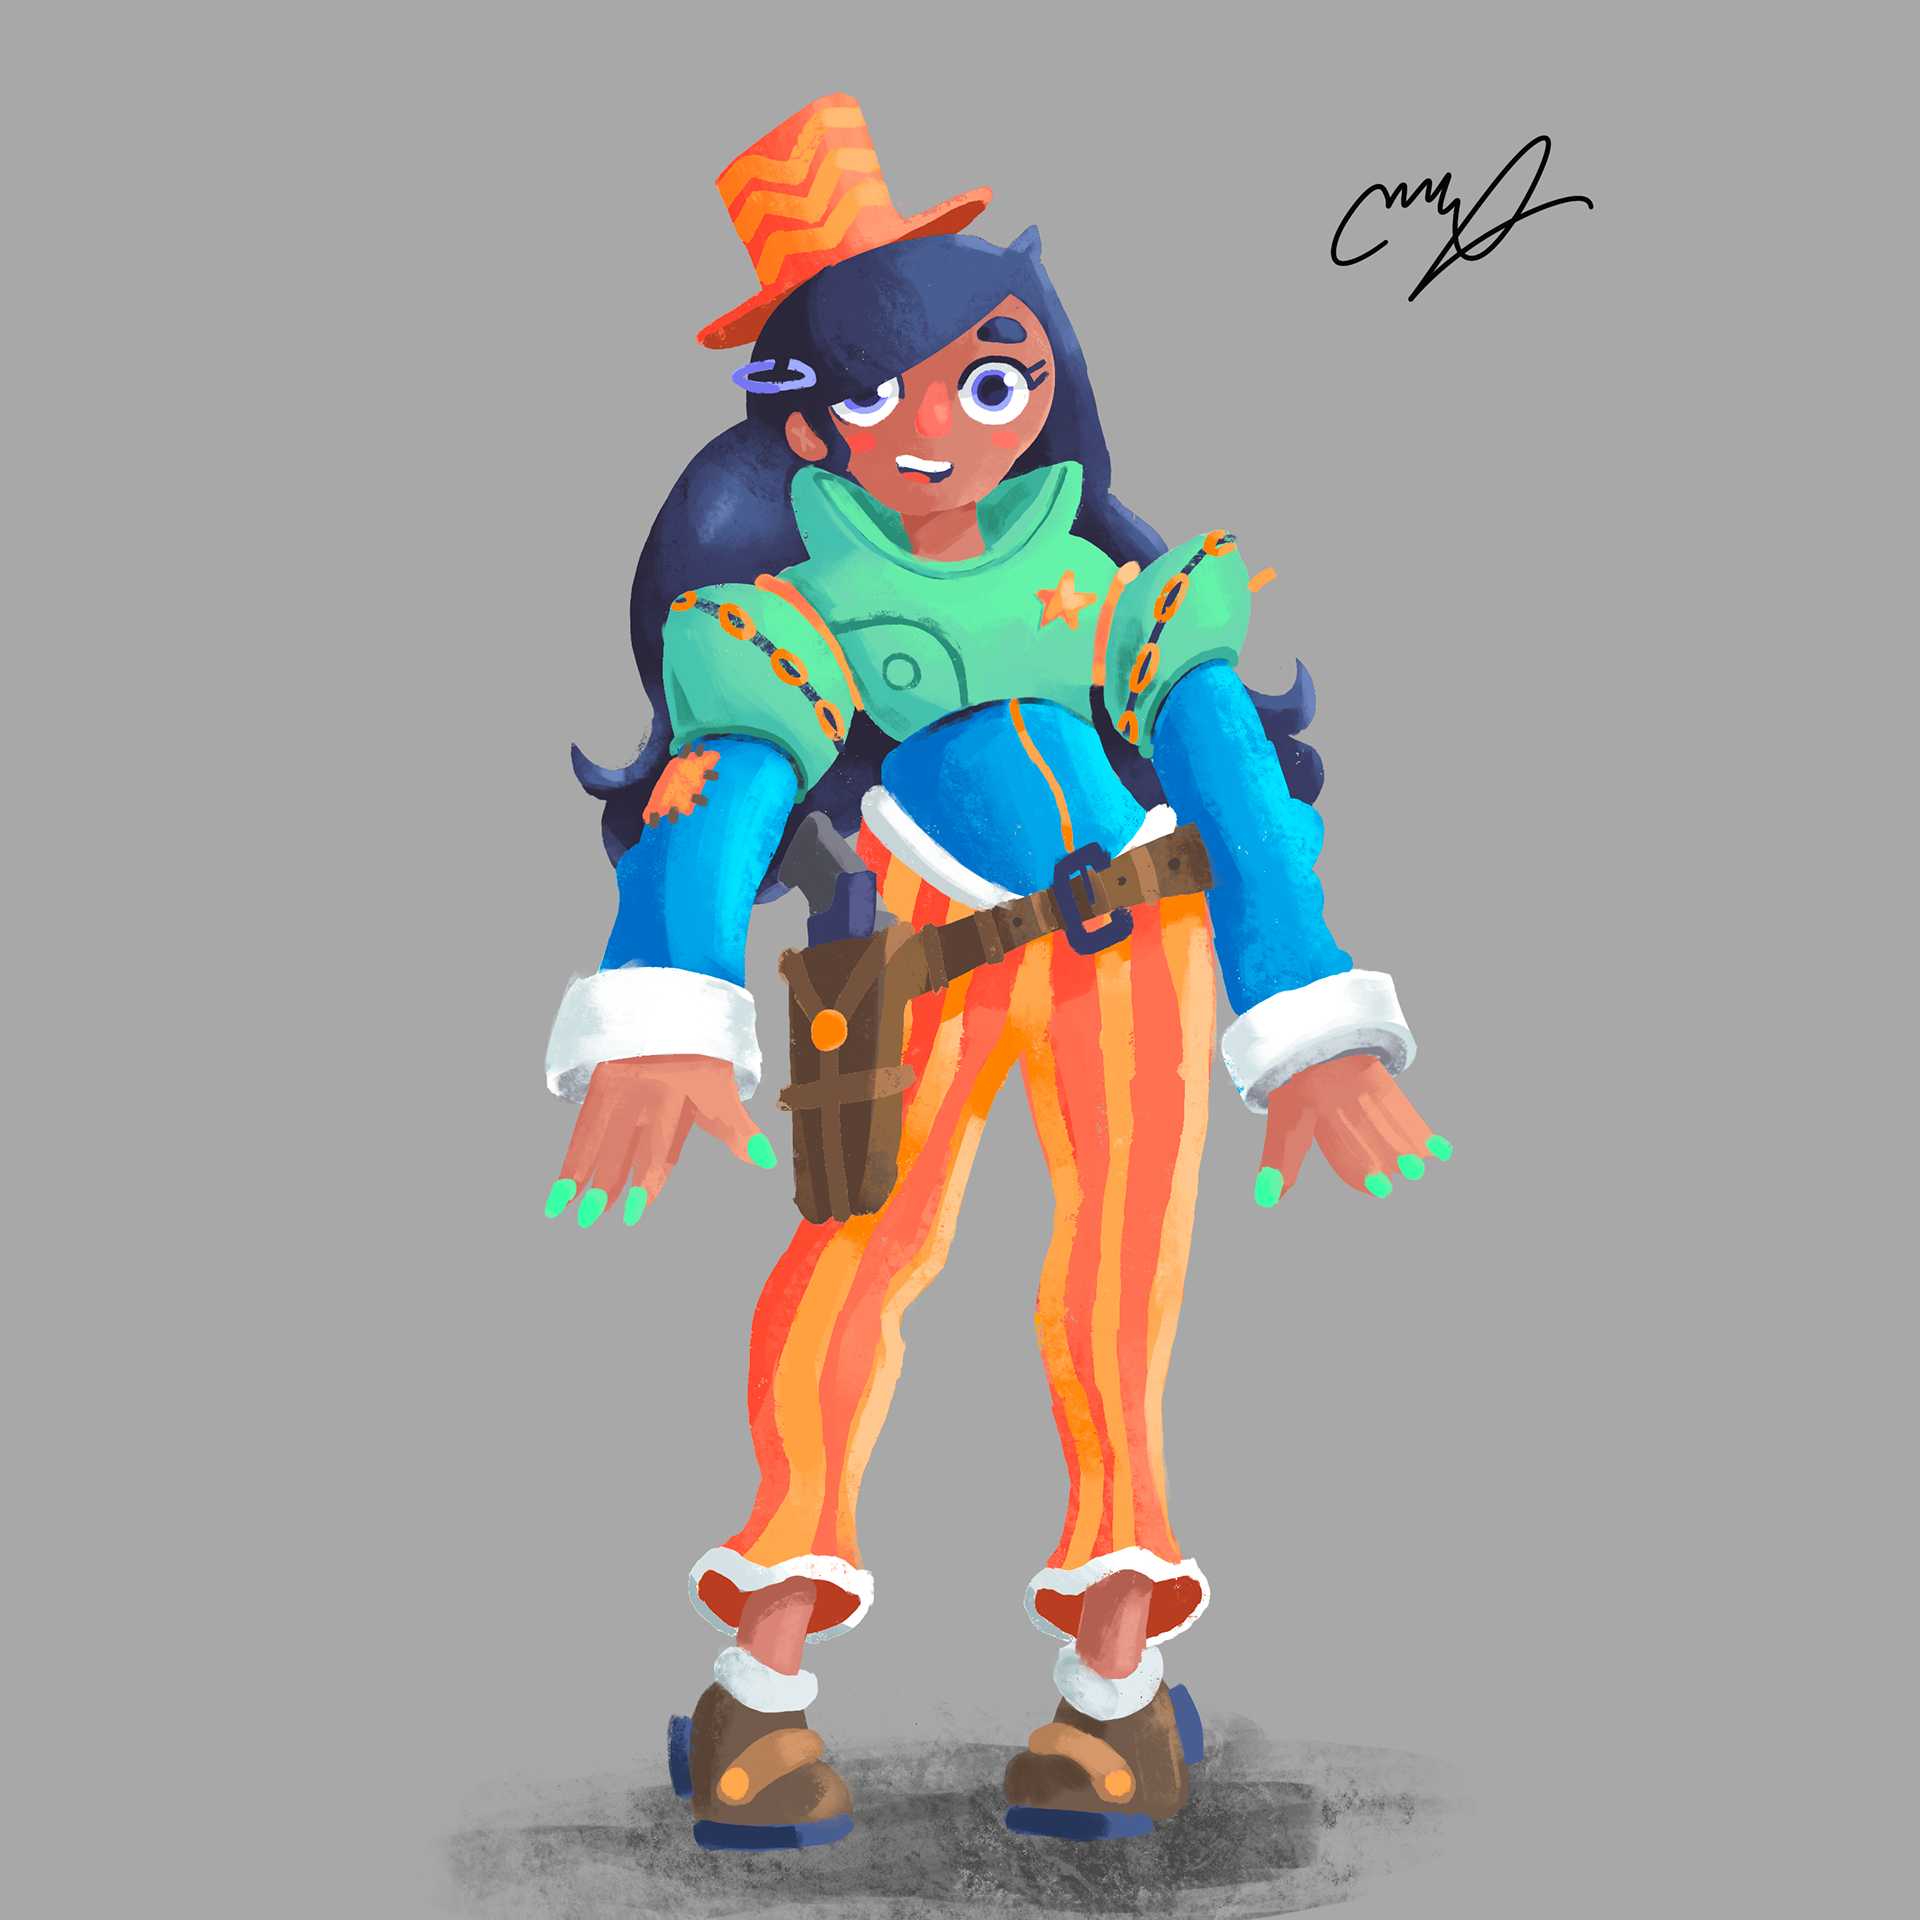
Original 2D art drawn in Procreate®
I originally created the character as a 2D sketch drawn in Procreate®. After about a year, I returned to the design with the intention of adapting it into a 3D model. I knew that to create an accurate model I would need more references. As such I drew some additional sketches from various new angles.
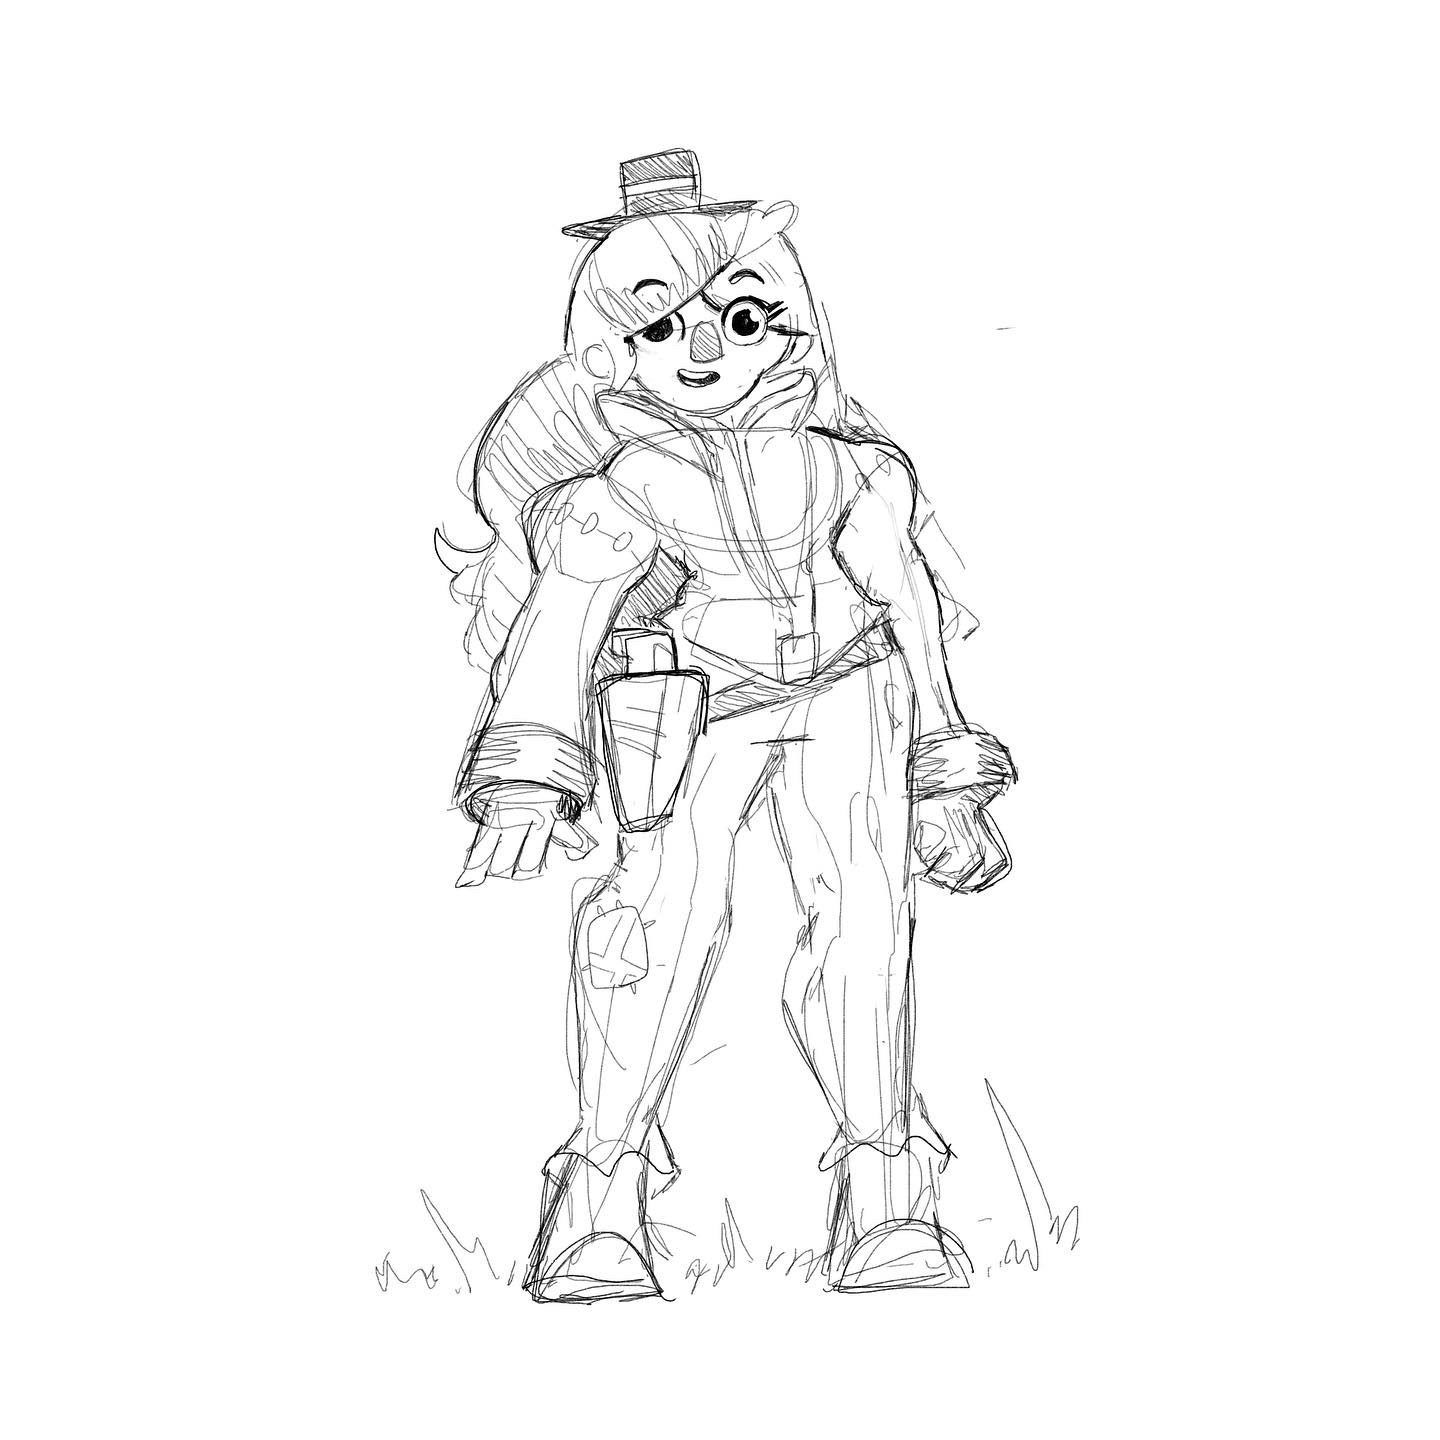
Original sketch
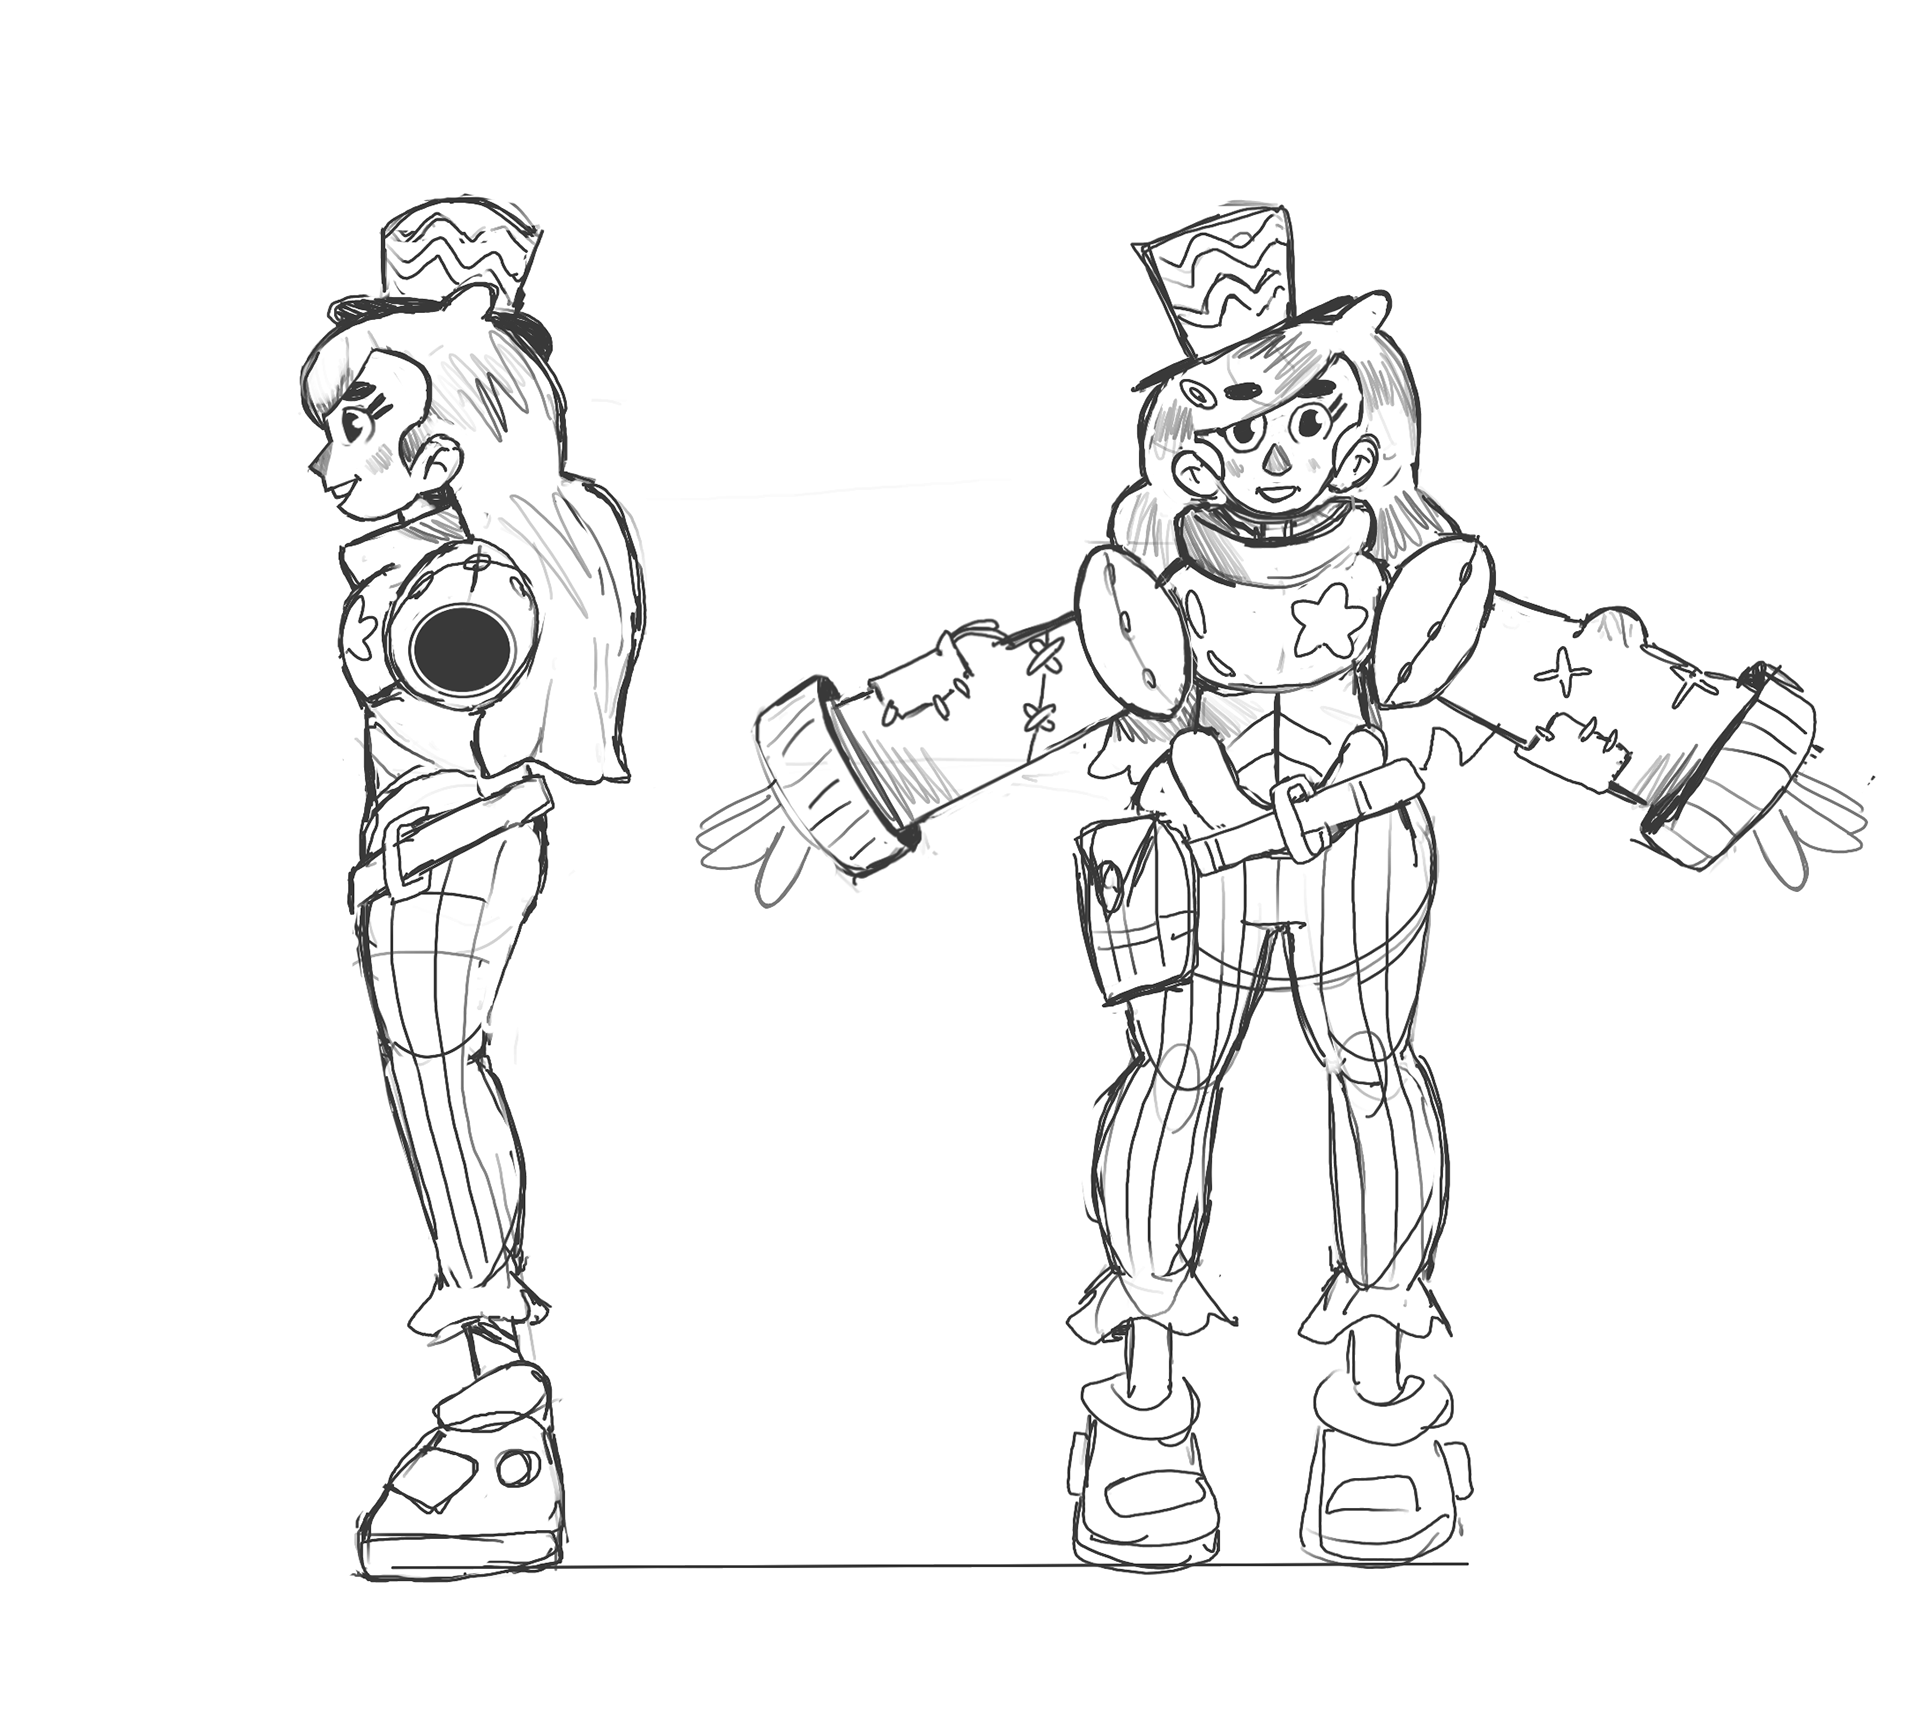
Revised sketches from multiple angles